
how to use functions and switch statement in Arduino YouTube
How It Works There are two ways to use ON/OFF switch. The below is the wiring table for ON/OFF switch and the reading state on Arduino in both ways: We only need to choose one of the above two ways. The rest of tutorial will use the first way.
Switch (case) Statement, used with serial input 2 Arduino Tutorial
Arduino - switch case statement Similar to the if statements, switch.case controls the flow of programs by allowing the programmers to specify different codes that should be executed in various conditions. In particular, a switch statement compares the value of a variable to the values specified in the case statements.
Arduino Switch (case) Statement, used with serial input
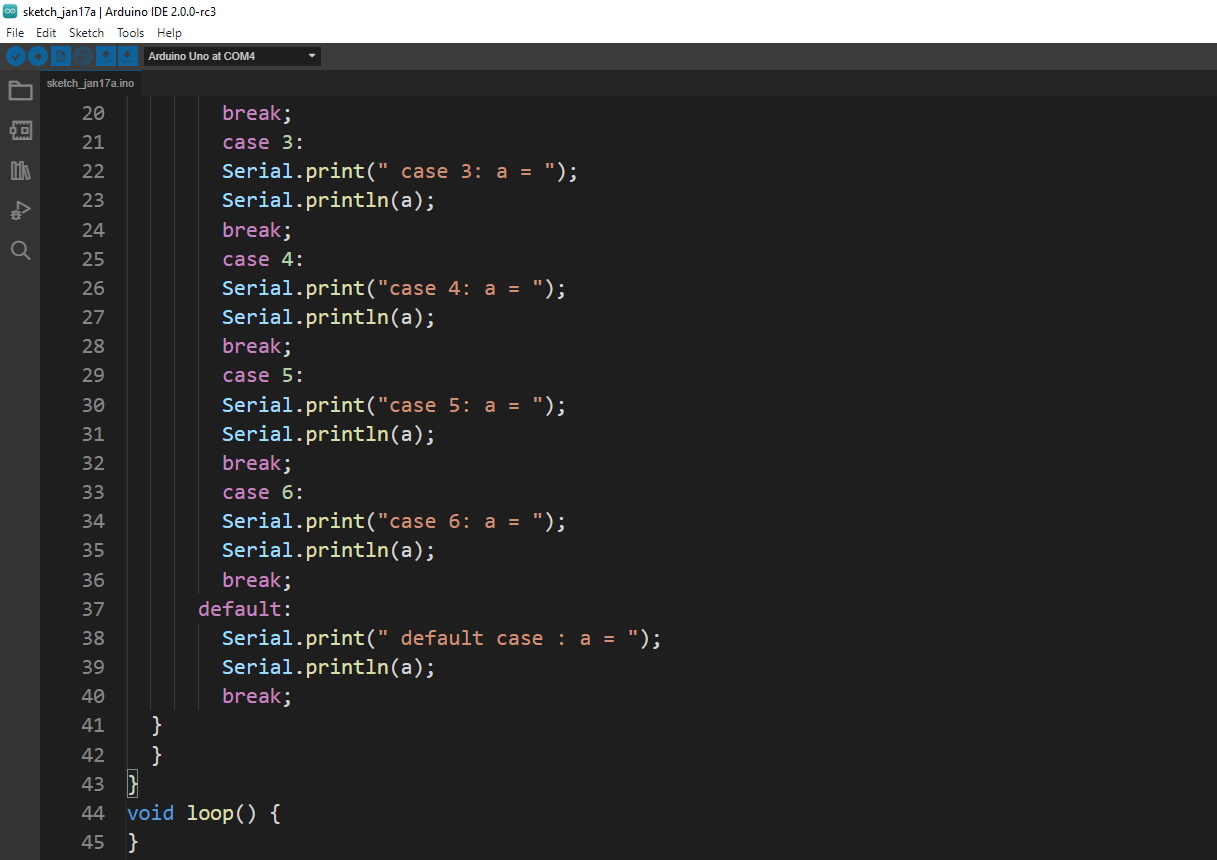
The Arduino Code /* Switch statement with serial input Demonstrates the use of a switch statement. The switch statement allows you to choose from among a set of discrete values of a variable. It's like a series of if statements. To see this sketch in action, open the Serial monitor and send any character.
Switch (case) Statement, used with sensor input Arduino Documentation
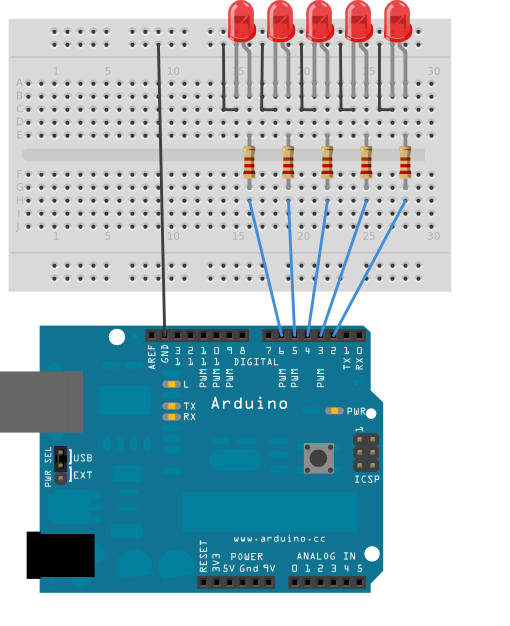
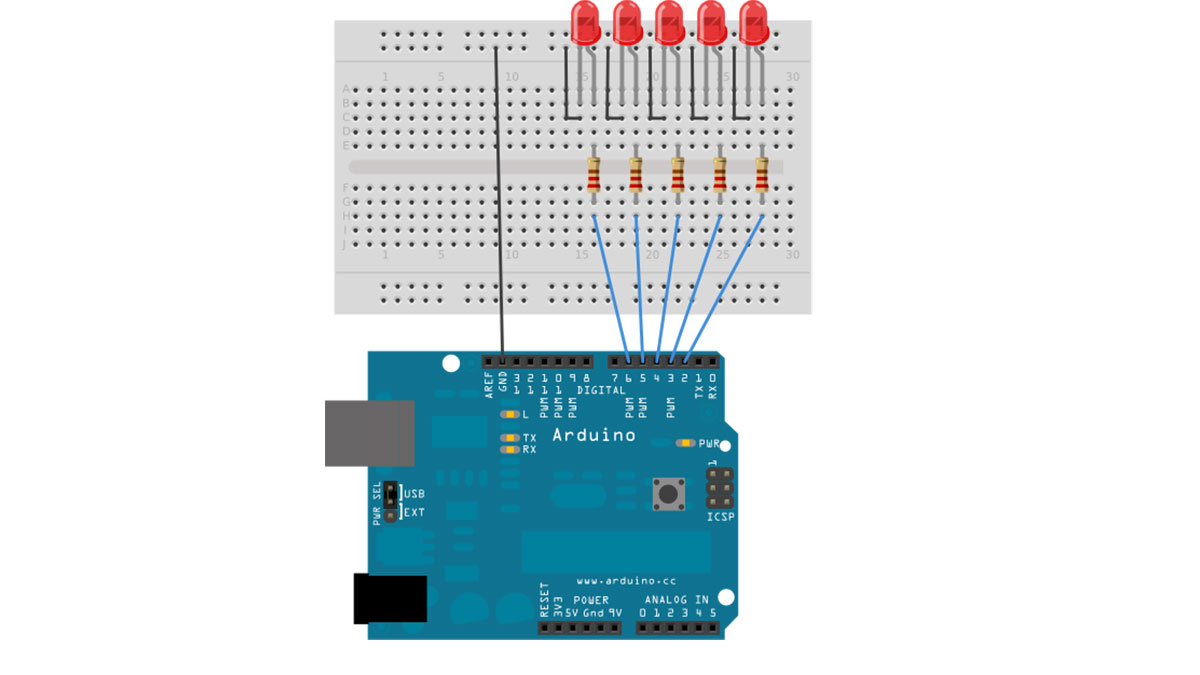
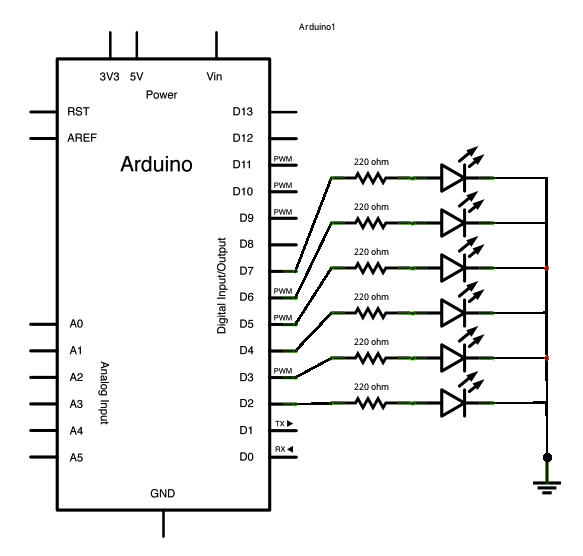
In the Arduino IDE open the serial monitor and send the characters a, b, c, d, or e to lit up the corresponding LED, or anything else to switch them off. Schematic Code 1 /* 2 3 Switch statement with serial input 4 5 Demonstrates the use of a switch statement. The switch statement allows you 6

HowToProgram switch/case statements Arduino tutorial 2 YouTube
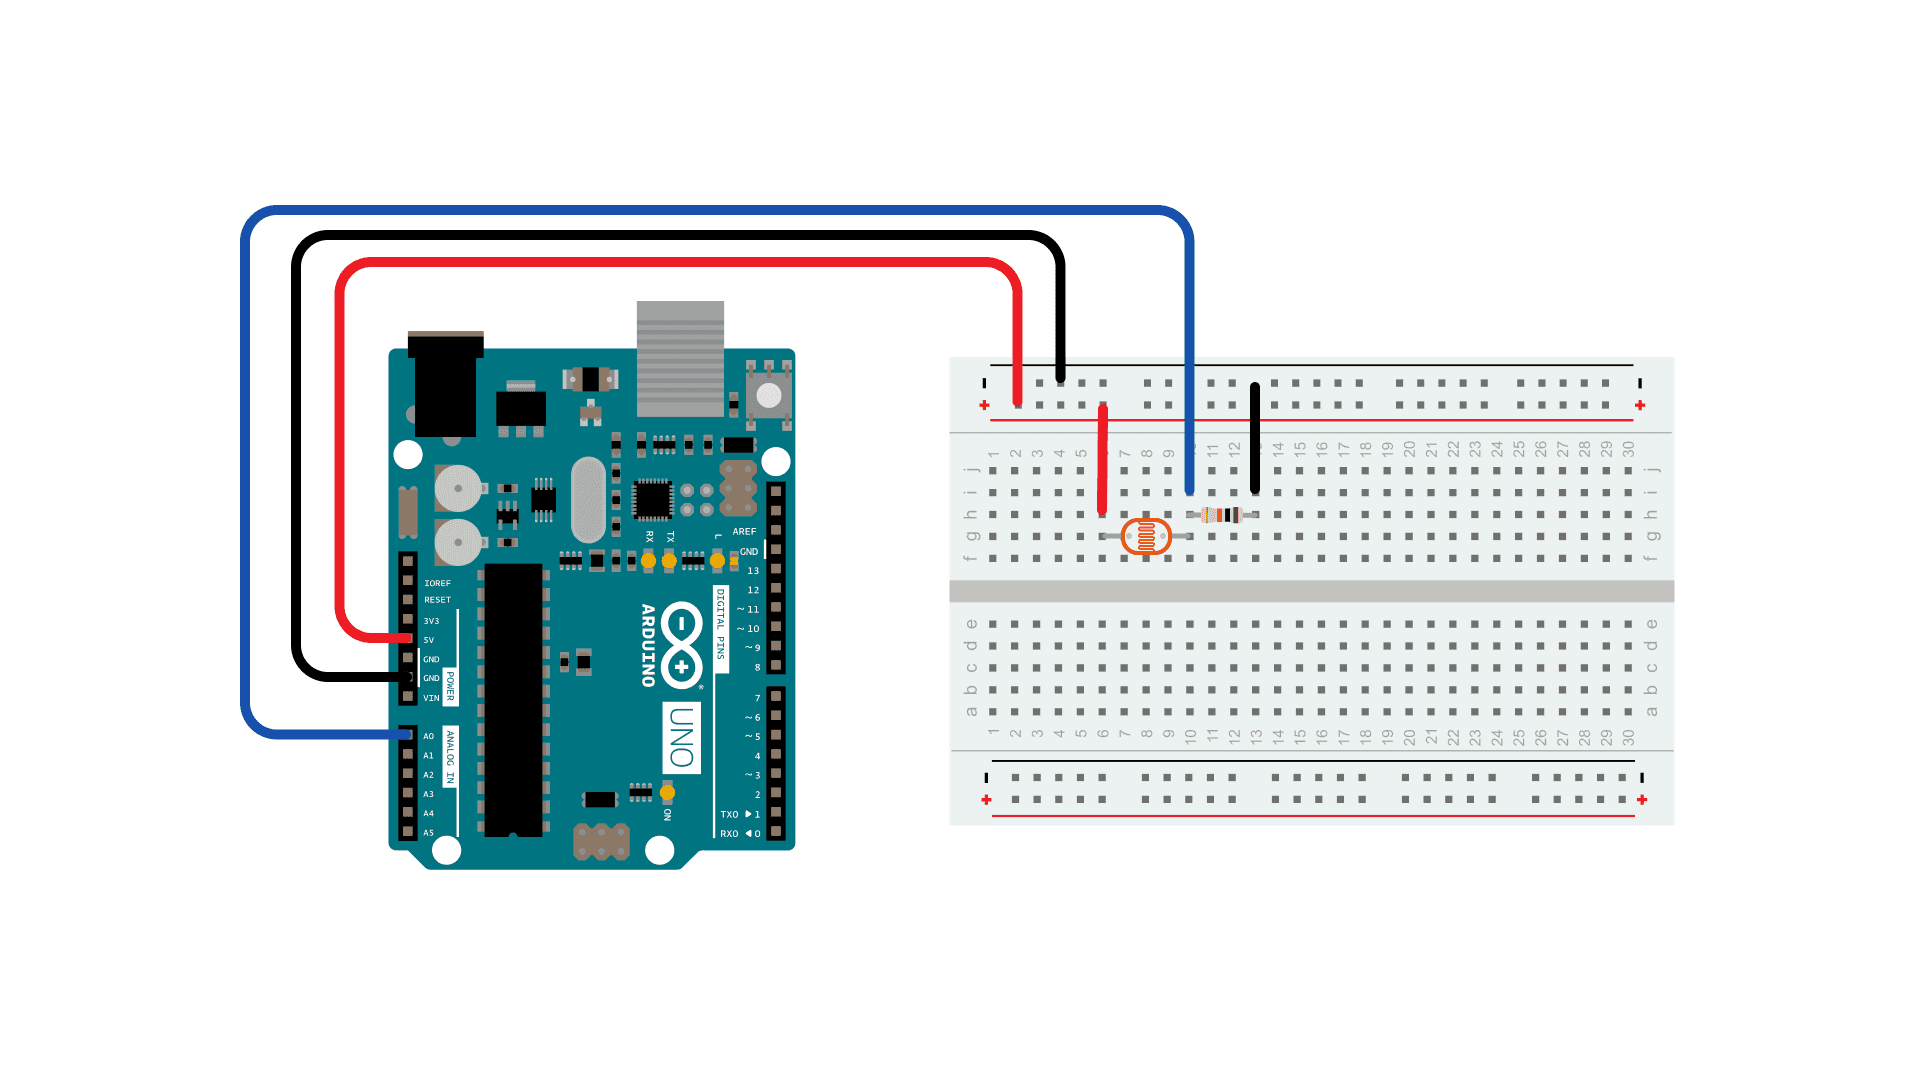
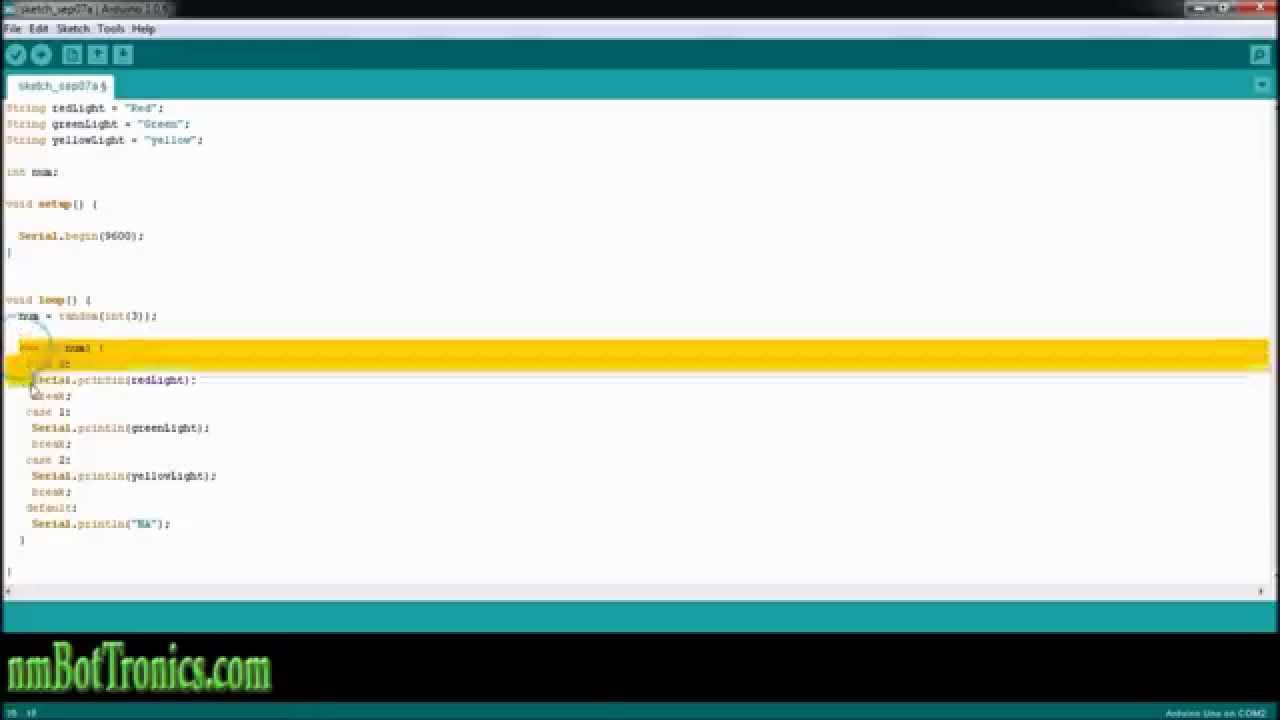
Switch allows you to choose between several discrete options. This tutorial shows you how to use it to switch between four desired states of a photo resistor: really dark, dim, medium, and bright. This program first reads the photoresistor. Then it uses the map () function to map its output to one of four values: 0, 1, 2, or 3.
Using Switch Case Statements in Arduino Programming Circuit Basics
Introduction. Arduino is a versatile platform that allows you to build and program various electronic projects. One of the essential tools in an Arduino programmer's toolkit is the Switch Case statement.. This powerful feature enables you to create efficient and organized decision-making structures in your code.

Switch Case Statement with Arduino [Guide + Code]
The switch - case statement is a powerful construct that is often under-used by beginners. Basically it allows you to perform tests on a value (or range of values) and make decisions - a bit like the IF statement.

Using Switch Statements in Arduino Switch statement, Arduino, Understanding
You can do this using a while loop. This example shows how to use a while loop to calibrate the value of an analog sensor. In the main loop, the sketch below reads the value of a photoresistor on analog pin 0 and uses it to fade an LED on pin 9. But while a button attached to digital pin 2 is pressed, the program runs a method called. calibrate()
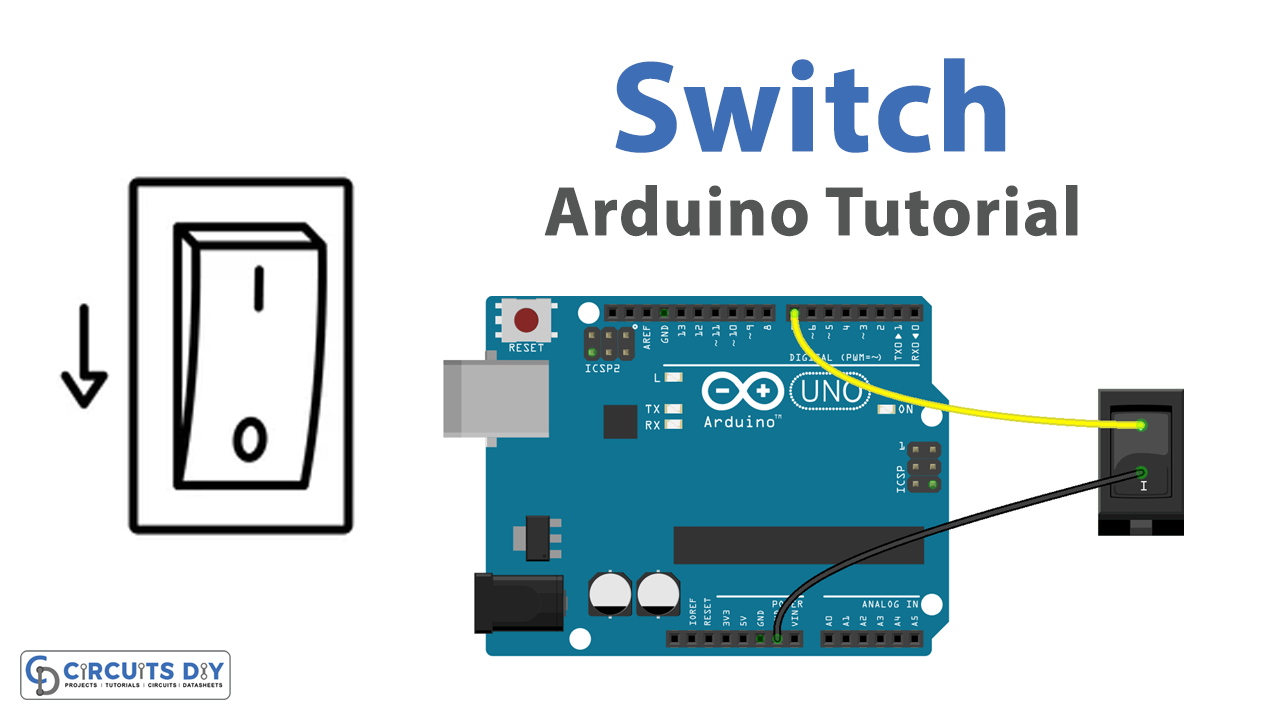
How to use a Switch with Arduino
Description Like if statements, switch case controls the flow of programs by allowing programmers to specify different code that should be executed in various conditions. In particular, a switch statement compares the value of a variable to the values specified in case statements.

arduino 06 switch statement YouTube
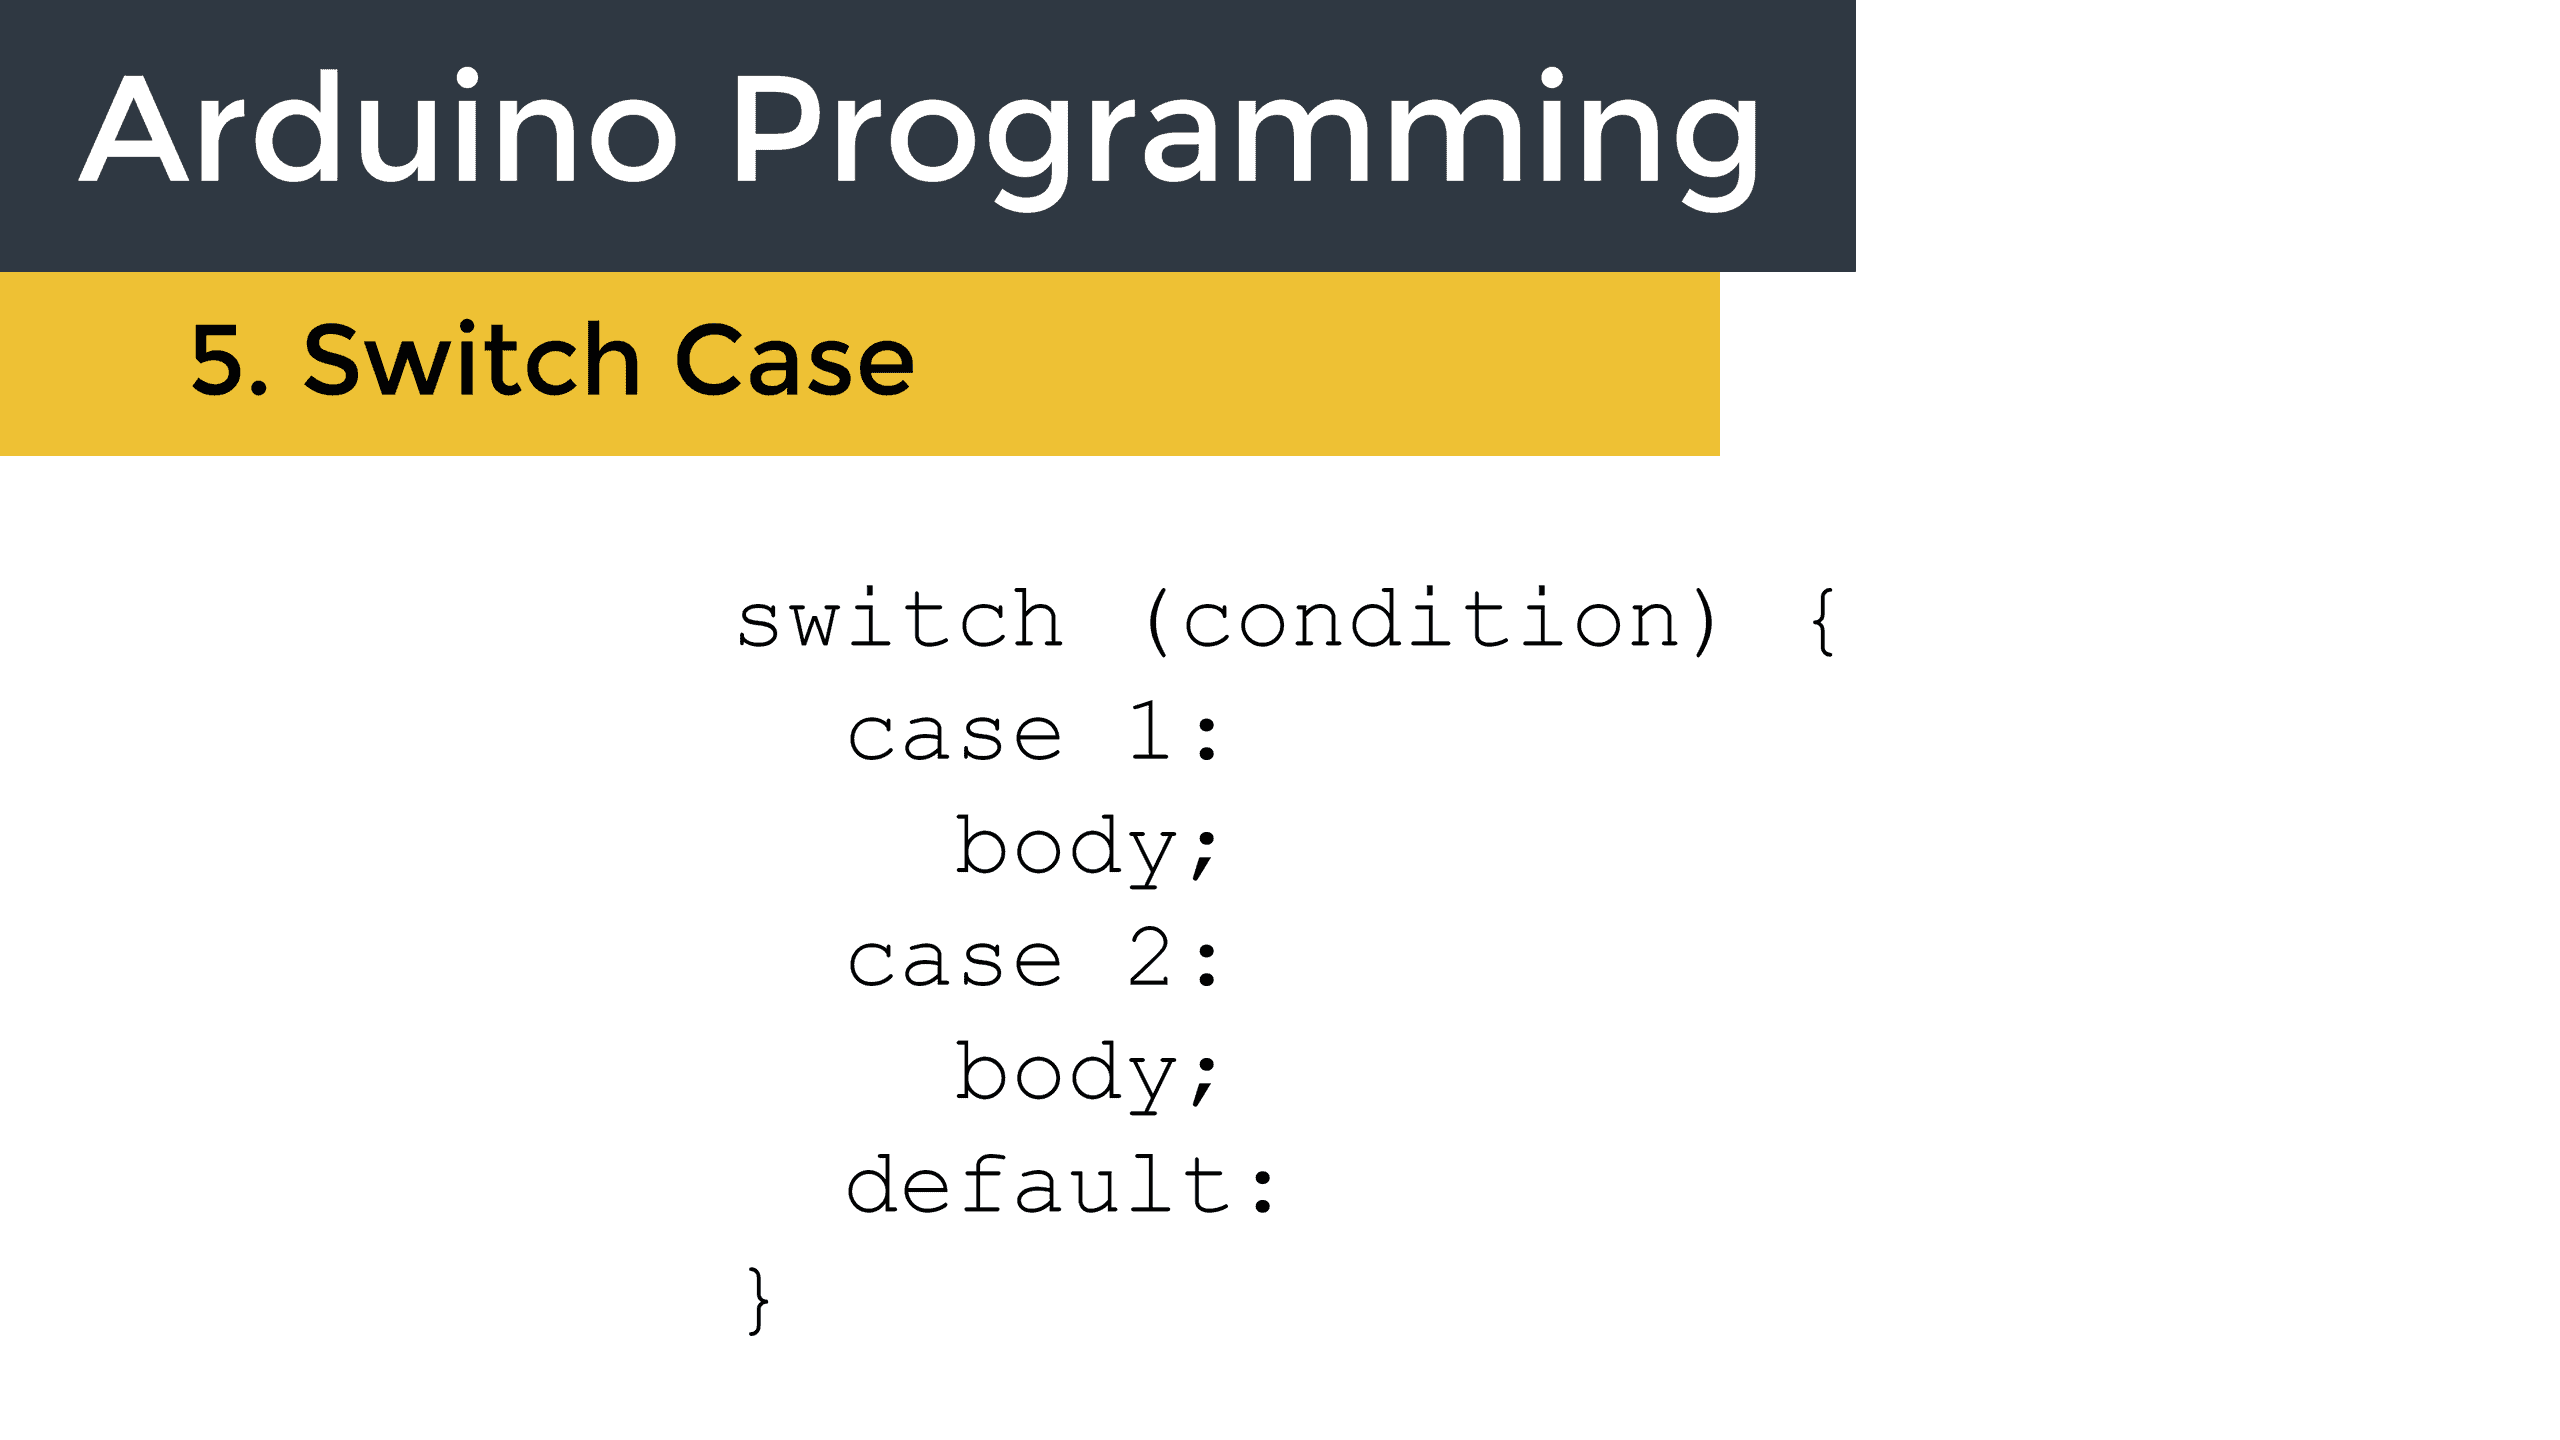
In order to switch from one case to another, we use a variable that matches the case. So if we want to go to Norway, we need a variable of '1', if we want to change our destination to Zanzibar, we need our variable to change to '2'. The syntax of a switch case statement is surprisingly simple:
Switch case statement in Arduino
Even though Arduinos compiler is old, GCC supports C++11 ranged switch statements, which expand its use dramatically. A lot of times where I have employed a switch for optimization reasons, the code surrounding it changes to suit the logic. And sometimes has proven to be far more efficient regardless of the ram overhead imposed by the switch.

Switch Statement C/C++ Arduino Programming Practical use
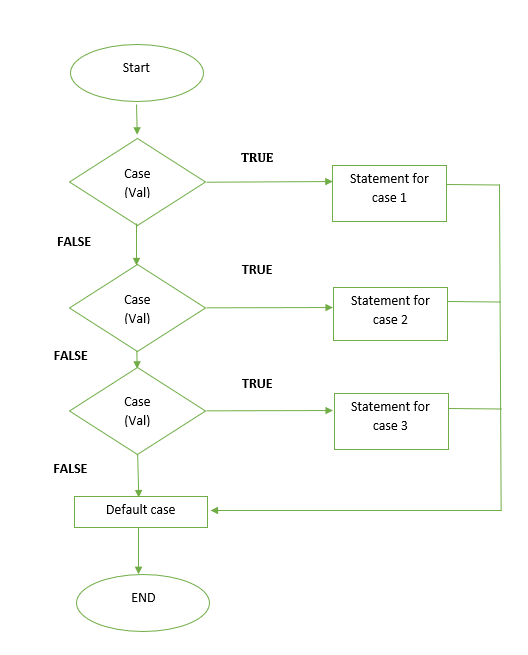
The switch statement looks at the variable inside the parentheses ( temp) and compares it to each one of the case statements. If the value stored in the variable matches the case number, the code inside the body of the case statement will be executed.
Arduino Tutorial Switch case, option to the if and else if statement for arduino YouTube
See Also. serial.begin(). serial.read(). serial.available(). switch() case. digitalWrite(). Arrays - A variation on the For Loop example that demonstrates how to use an array.. ForLoopIteration - Control multiple LEDs with a for loop.. IfStatementConditional - Use an . '; if statement' to change the output conditions based on changing the input conditions.. switchCase - How to choose between.
Arduino Switch Statement used with sensor input Use Arduino for Projects
An Arduino switch case statement is used to control the flow of a program, allowing a programmer to execute different pieces of code depending on certain conditions. By using the switch/case statement, complex logic can be written concisely and clearly.
Arduino Switch (case) Statement, used with serial input
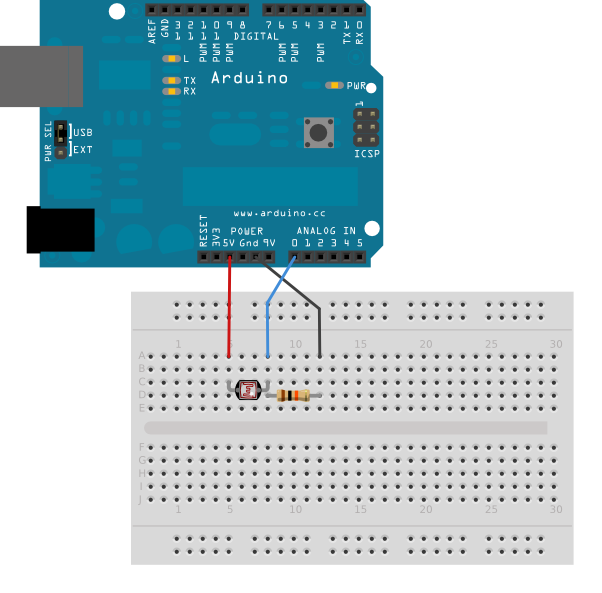
This tutorial shows you how to use it to switch between four desired states of a photo resistor: really dark, dim, medium, and bright. This program first reads the photoresistor. Then it uses the Arduino Board photoresistor, or another analog sensor 10k ohm resistors hook-up wires The photoresistor is connected to analog in pin 0 using a circuit.
Switch case statement in Arduino
Switch Case Statements. In Arduino, you can use the switch statement to create a multi-way branch in your code, allowing you to execute different blocks of code depending on the value of a variable. The break keyword is used at the end of each case. If the break is not used with the switch statement, it